Delving into james hardie siding installation, this introduction immerses readers in a unique and compelling narrative. James Hardie siding is a popular choice in the construction industry due to its durability and aesthetics. This article will explore the benefits of using James Hardie siding over other materials and provide insights into the different types available for installation.
Introduction to James Hardie Siding
James Hardie siding is a popular choice in the construction industry due to its durability, versatility, and aesthetic appeal. Made from fiber cement, this siding material is known for its ability to withstand harsh weather conditions and resist rot, fire, and pests.
Benefits of James Hardie Siding
- Low maintenance: James Hardie siding requires minimal upkeep, saving time and money in the long run.
- Durability: With a lifespan of 30-50 years, this siding is a long-term investment for homeowners.
- Design options: James Hardie offers a wide range of colors and styles to suit any architectural design.
Types of James Hardie Siding
There are several types of James Hardie siding available for installation, including:
| 1. HardiePlank Lap Siding |
A traditional lap siding option that mimics the look of wood. |
| 2. HardiePanel Vertical Siding |
An alternative to traditional lap siding, offering a modern aesthetic. |
| 3. HardieShingle Siding |
Designed to replicate the look of cedar shingles, adding texture to the exterior of a home. |
Pre-Installation Preparation
Before beginning the installation of James Hardie siding, it is crucial to properly prepare the area to ensure a successful outcome. This involves inspecting the existing structure, gathering the necessary tools and materials, and understanding the steps involved in the installation process.
Necessary Steps for Preparation
- Clear the work area of any debris, vegetation, or obstacles that may impede the installation process.
- Inspect the existing structure for any damage, rot, or mold that may need to be addressed before installing the siding.
- Ensure proper weatherproofing and insulation materials are in place to protect the structure and improve energy efficiency.
- Measure and mark the area where the siding will be installed to ensure precise and accurate placement.
Tools and Materials Required
- James Hardie siding planks or panels
- Nails or screws designed for siding installation
- Siding trim pieces
- Utility knife or siding cutter
- Tape measure and level
- Caulk and caulking gun
- Hammer or nail gun
- Safety gear such as goggles and gloves
Importance of Inspecting Existing Structure
Inspecting the existing structure before installing James Hardie siding is crucial to identify any underlying issues that could impact the installation process or the long-term durability of the siding. Addressing issues such as rot, mold, or damage before installation can help prevent further problems and ensure a smooth installation process.
By taking the time to properly prepare the area and inspect the structure, you can set the stage for a successful and long-lasting James Hardie siding installation.
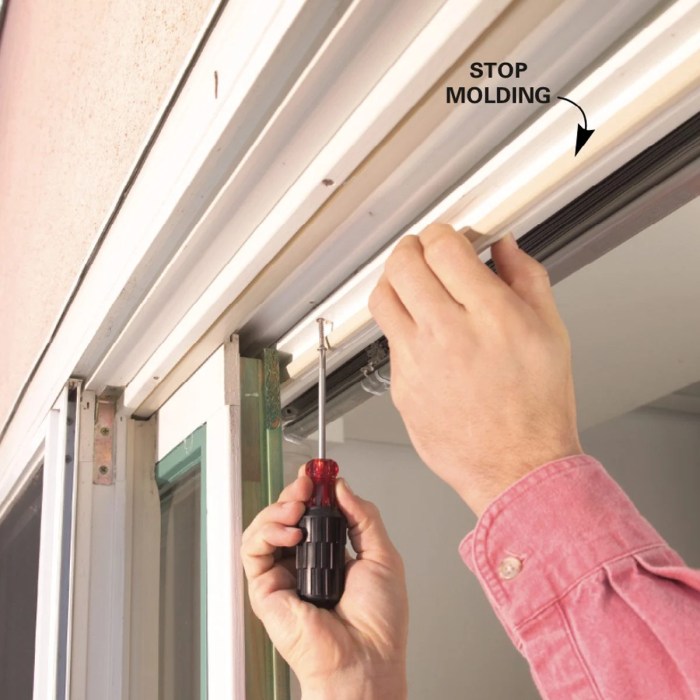
Installation Process
When it comes to installing James Hardie siding, following a step-by-step process is crucial to ensure a successful and durable outcome for your residential or commercial building.
Cutting and Fitting James Hardie Siding Panels
To properly cut and fit James Hardie siding panels, it is important to measure accurately and use the right tools. Here are some tips to help you with this process:
- Measure twice and cut once to avoid wastage of materials.
- Use a carbide-tipped scoring knife or shears designed for fiber cement to make clean cuts.
- When fitting panels, leave a small gap at the edges to allow for expansion and contraction.
- Ensure panels are properly aligned and leveled for a seamless finish.
Securing James Hardie Siding for Durability
Properly securing James Hardie siding is essential to ensure its durability and longevity
. Here are some best practices to follow:
- Use stainless steel nails or screws to prevent rust and corrosion over time.
- Fasten the siding at the designated nailing points to maintain structural integrity.
- Follow the manufacturer's guidelines for spacing and fastening to prevent warping or buckling.
- Apply caulk or sealant at joints and corners to prevent water infiltration and ensure a watertight seal.
Finishing and Maintenance
Properly finishing and maintaining James Hardie siding is crucial to ensure its longevity and appearance. Here, we will discuss the steps you need to take for finishing after installation, painting options and techniques, as well as maintenance tips to prolong the life of your James Hardie siding.
Finishing After Installation
After the James Hardie siding installation is complete, it is essential to properly finish the siding to protect it from the elements. Follow these steps for a successful finishing:
- Clean the siding surface thoroughly to remove any dirt, dust, or debris.
- Apply a high-quality primer to the siding to ensure proper adhesion of the paint.
- Choose a premium exterior paint that is compatible with fiber cement siding for a long-lasting finish.
- Apply the paint using a brush or roller in thin, even coats for a smooth and uniform finish.
- Allow the paint to dry completely between coats as per the manufacturer's instructions.
- Inspect the finished siding for any touch-ups or additional coats as needed.
Painting Options and Techniques
When it comes to painting your James Hardie siding, consider the following options and techniques:
- Opt for acrylic paint that is specifically formulated for fiber cement siding for the best results.
- Choose a color that complements your home's exterior and enhances its curb appeal.
- Use a high-quality brush or roller for application to ensure a professional finish.
- Apply the paint in the direction of the siding panels to prevent drips and achieve a smooth look.
- Consider using a paint sprayer for larger areas for a more efficient and even application.
Maintenance Tips
To prolong the life of your James Hardie siding, follow these maintenance tips:
- Regularly inspect the siding for any signs of damage, such as cracks, chips, or peeling paint.
- Clean the siding at least once a year with a mild detergent and water to remove dirt and grime.
- Trim any overhanging trees or bushes to prevent damage to the siding from branches or foliage.
- Check the caulking around windows, doors, and other openings for signs of wear and reseal as needed to prevent water infiltration.
- Consider applying a fresh coat of paint every 7-10 years to maintain the appearance and protection of your James Hardie siding.
Last Word
In conclusion, James Hardie siding offers a durable and visually appealing solution for residential and commercial buildings. By following the proper installation and maintenance techniques, you can ensure the longevity of your siding. Dive into the world of James Hardie siding installation and elevate the look of your property with this versatile material.
FAQ Overview
What are the main benefits of James Hardie siding?
James Hardie siding is known for its durability, resistance to pests and fire, and low maintenance requirements.
How do you properly finish James Hardie siding after installation?
After installation, it is recommended to apply two coats of high-quality exterior paint to protect the siding and enhance its appearance.
What tools are required for James Hardie siding installation?
Some essential tools include a circular saw, utility knife, tape measure, and caulking gun.